
Showing posts with label zakka. Show all posts
Showing posts with label zakka. Show all posts
Sunday, 2 December 2012
A little gift for myself
Amongst all the various treats and gifts I have received for my birthday was a lovely pampering break at a nearby spa. I decided to continue with the relaxation with this lavender eye pillow for my yoga sessions. The treat was completed with a piece of hand dyed silk satin from my stash.


Thursday, 29 December 2011
7months, 7 hours, 70 minutes

7 months to procrastinate.
7 hours to rediscover horizontal surfaces in my sewing studio.
70 minutes to make.
This is similar to the one I made rather more promptly as part of a gift last March. This time the Kindle cover is for me (I bought a Kindle for myself last May - hence 7 months). I chose the fabrics after perusing my fabric stash and found I had enough of this Japanese print left over from a bag kit. Lining from a fabric I got from my Grandma's fabric stash (via my Mum's).
Again a simpler version (no patchwork, no quilting) from this tutorial on Elizabeth's Whimsies.
Saturday, 28 May 2011
An authentic blog post
Somebody decided to post to my blog and email my entire contact list this evening. Now in the process of clearing things up. In doing so just blogging the following to showing you this is the real me, last weekends mini-project for P & R's wedding:

This is another Kanzashi flower - this time with pointy petals - for which I got the instructions from Diane Gilleland's Kanzashi in Bloom: 20 Simple Fold-And-Sew Projects to Wear and Give. This time I kept it simpler with a single flower and simple grey button to match the dress I was wearing, the fabric was extracted from my Mother's fabric stash (previously my Grandmother's). Apart from some feathers and a cheapie plastic Alice band from the supermarket this was an almost no cost project.
This is another Kanzashi flower - this time with pointy petals - for which I got the instructions from Diane Gilleland's Kanzashi in Bloom: 20 Simple Fold-And-Sew Projects to Wear and Give. This time I kept it simpler with a single flower and simple grey button to match the dress I was wearing, the fabric was extracted from my Mother's fabric stash (previously my Grandmother's). Apart from some feathers and a cheapie plastic Alice band from the supermarket this was an almost no cost project.
Tuesday, 5 April 2011
Birthday girl

Sunday, 3 April 2011
Fascinating adventures with my glue gun


I am pretty pleased with the result - especially as I did not spend a lot on materials. I only splashed out on the feathers and the hair band I attached it to. The rest was all in my stash. The kanzashi flowers were made from silk scraps which I already had. (To make the Kanzashi flowers check out Diane Gilleland's Kanzashi in Bloom: 20 Simple Fold-And-Sew Projects to Wear and Give there is also blog and flickr group of other readers Kanzashi creations). The loops were simple tubes sewn from blue silk, turned with my ever faithful rouleau loop turner and then threaded with offcuts of thin polyester boning. After a frenzy of gluing with the aid of my glue gun and other supporting fabric and bead glues - this was the finished result.
Thursday, 3 March 2011
Hinamatsuri

Tuesday, 15 February 2011
A little extra heart
I needed a little gift bag to hold some extra beads for a birthday bracelet. So designed and stitched this little heart shaped pouch.

Which then gathered into a leaf

or a flower bud depending from which view you looked at it.

Which then gathered into a leaf
or a flower bud depending from which view you looked at it.
Friday, 4 February 2011
Birthday Brooches & Keepers
A few presents for a recent birthday. First a brooch made with some lovely Aizome Chiyogami Washi*
 Something to keep the above in and along with the recipients collection of brooches, a brooch keeper.


It is a variation on this brooch keeper from Buttontree Lane (or it could always be used as an extra large needle case!).
*
Aizome - Indigo dye
Chiyogami - "Chiyo" thousand generation, "gami" paper
Washi - "Wa" Japanese, "shi" paper
*
Aizome - Indigo dye
Chiyogami - "Chiyo" thousand generation, "gami" paper
Washi - "Wa" Japanese, "shi" paper
Thursday, 3 February 2011
Xīnnián Kuàilè
Before I forget:
 This little rabbit has got a magnet instead of a brooch back so that it will be adorning my fridge, rather than my lapel.

Monday, 3 January 2011
What I sewed for Christmas
Just a quick post Christmas report on a few things I put together for the present splurge that occurred.
Somebody really, really, really wanted vouchers (honest!), so I thought it would be nice to have a little holder for them:

I thought the little holder needed a little bag to go with it.
 This was created using my overlocker - it took more time to cut out than it did to sew. As I was having fun on it I whipped up a couple of these for my sister.
 As I had the fabric out I returned to the sewing machine and made another pair of oven gloves, this time for G.
 (Unfortunately I forgot to photograph Mr. T's awesome apron - if I do say so myself)
I then went into production overdrive and made these ever useful* box bags - which contained an emergency "Pub in a Bag" kit for Dads and BiLs stuck in the house with too many kids. (Although swap the beer for a miniature bottle of Gin and a slimline tonic, the pork scratchings for some olives and you have an emergency "Bar in a Bag" for the Mums and Sisters)

*useful because they take CDs (some people still use and accumulate them), gadgets, cables and random bits and bobs.
I may have sewn some voile panels for a bay window but they are not that interesting, nor are they easy to photograph. I will leave you with a revisit to a more interesting "net curtain"

That is the end of the end of holidays report.
Somebody really, really, really wanted vouchers (honest!), so I thought it would be nice to have a little holder for them:

I thought the little holder needed a little bag to go with it.


I then went into production overdrive and made these ever useful* box bags - which contained an emergency "Pub in a Bag" kit for Dads and BiLs stuck in the house with too many kids. (Although swap the beer for a miniature bottle of Gin and a slimline tonic, the pork scratchings for some olives and you have an emergency "Bar in a Bag" for the Mums and Sisters)

*useful because they take CDs (some people still use and accumulate them), gadgets, cables and random bits and bobs.
I may have sewn some voile panels for a bay window but they are not that interesting, nor are they easy to photograph. I will leave you with a revisit to a more interesting "net curtain"
That is the end of the end of holidays report.
Thursday, 1 July 2010
A Quartet of Spectacle Cases

- a case for old trusty I got married in them 6 years ago sunglasses
- a case for my car/sporty sunglasses
- a case for my replacement but not quite the same sunglasses
- a case for M's glasses when he wants to pack light for a long bike ride and I don't want him swiping my glasses case case
Monday, 7 June 2010
A trio of pin cushions
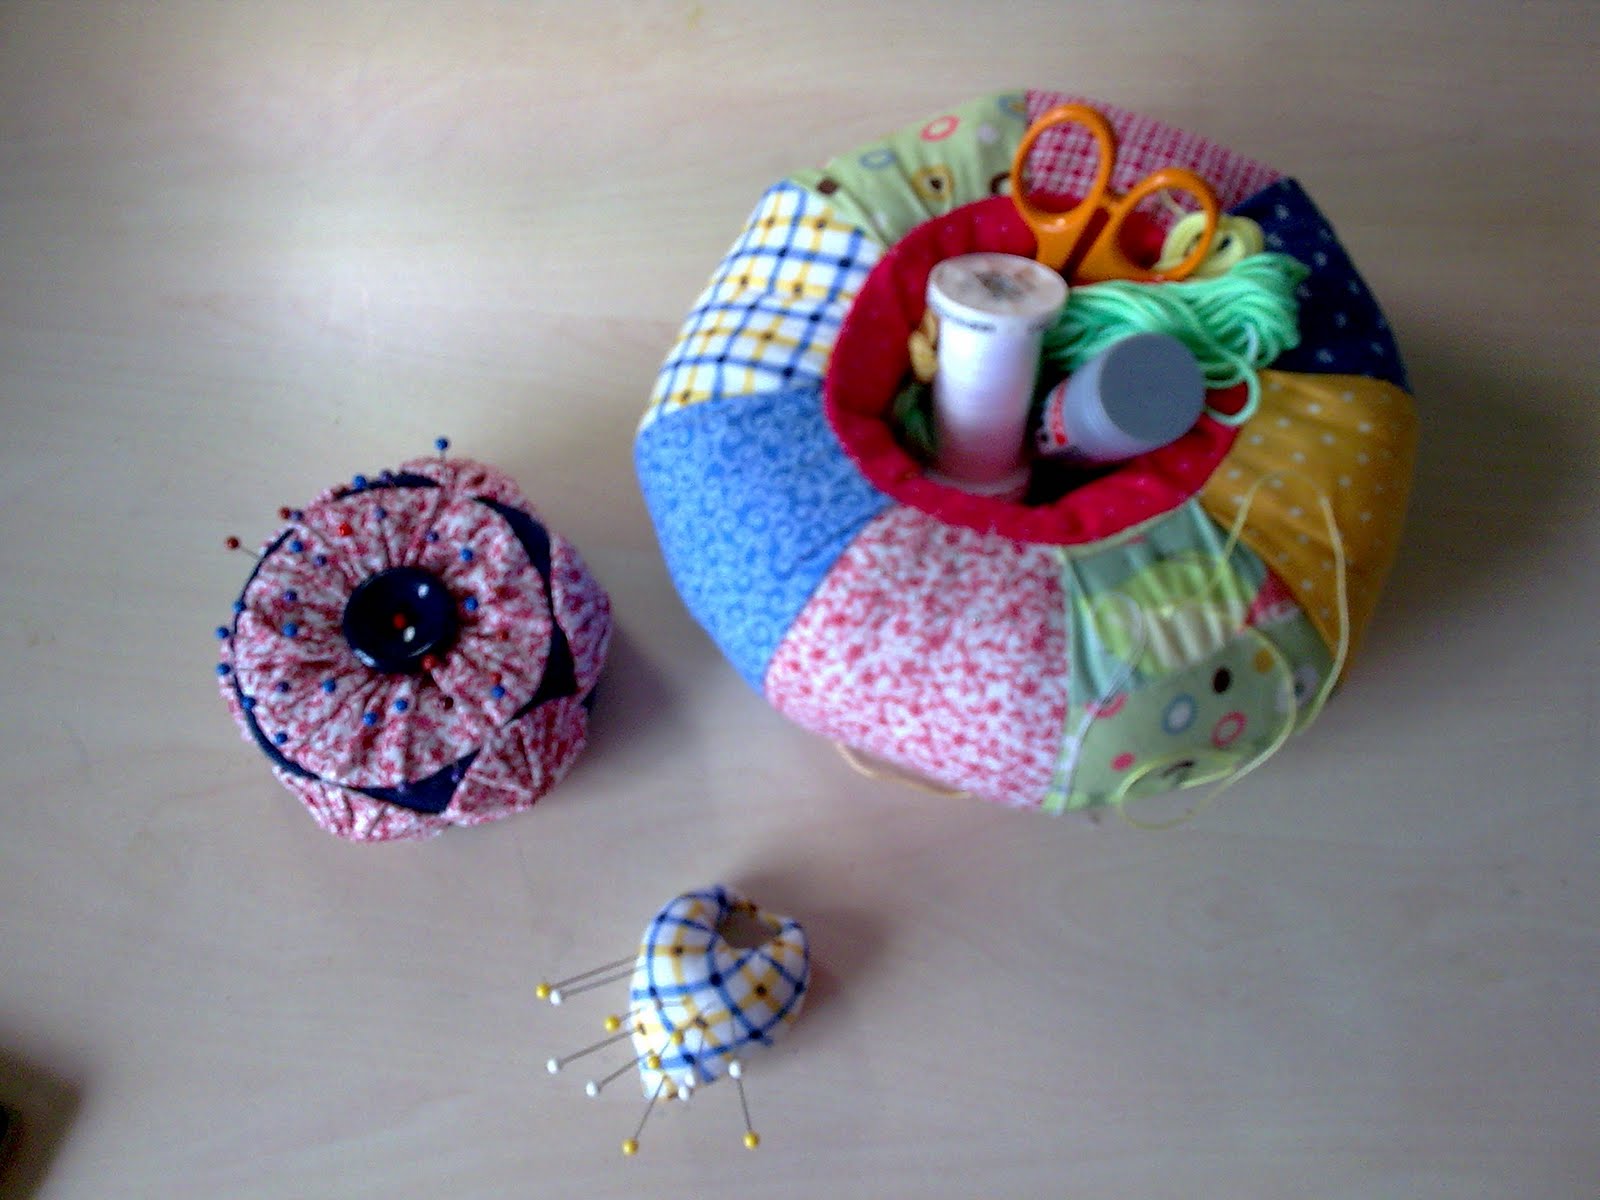
I return to stitching with a little bit of procrastination - pincushion construction. I justified my endeavours with the reasoning that ever since my oversized pincushion went to the sofa heaven in the sky and that new one (leather) could no longer be classed as such, that I needed alternative means to park my pins and needles. Although I already had a few pincushions (one here and one from this forthcoming book) they have already got permanent places on the ironing board and next to my sewing machine.
This big one is the pincushion caddy from Seams to Me by Anna Marie Horner (Craft magazine had this as a pattern podcast a while back) this is also handy for keeping various bits in one place instead of half scattered under aforementioned sofa.

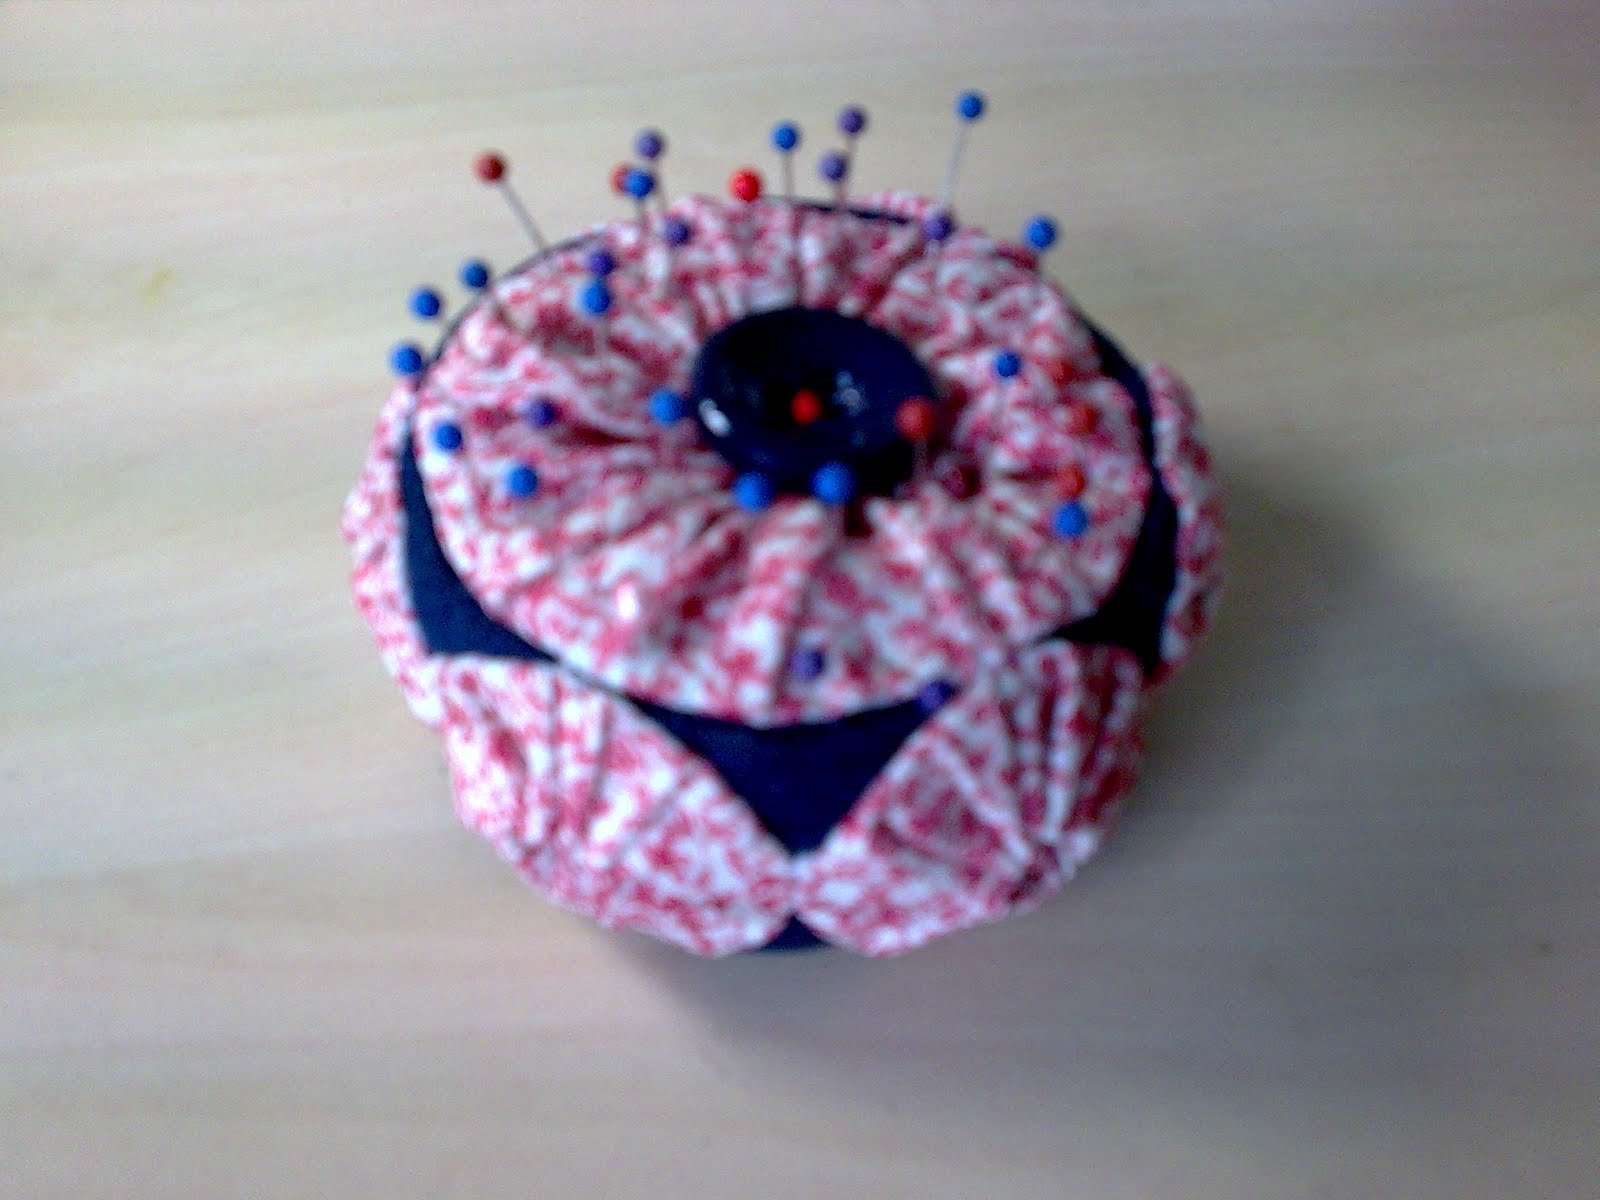
The next, medium sized one I made after catching the tutorial over at CraftyPod. Perfect excuse to make more use of my Clover yo-yo maker.
The last and littlest one and now, I find, the most useful of all is this pointer finger pincushion. I find it best placed on the pointer finger on my non-sewing hand.

Saturday, 21 March 2009
Birthday bits
A month ago I attended a jewellery making workshop with my friend G where we learnt how to make floating bead necklaces. It was led by the people from World of Beads, a local bead shop in Winchester.
 It is my friend C's birthday, a significant one, but we're not shouting about it too much (the clue is in the number of flowers on the card). I decided to make C this necklace and a pair of matching earrings using some of the gorgeous and more expensive (but worth it) Murano glass beads that World of Beads stock in their Parchment Street shop. As this is my third version of this necklace the finish is much improved from my first attempt in the workshop. (I forgot to photograph the turquoise one which I made for my sister H's birthday).
 If you have never had much luck with the fiddly loops required of earrings and other jewellery making techniques the videos found here are really useful - very clear production so you can see exactly what is being done, or, if you are in the area I would recommend the workshops at World of Beads.
By luck I had a matching little pochette that I made some time ago from "Omiyage" by Kumiko Sudo to put the birthday jewellery in.
 I then used some of my watercolour cartridge paper to make a little box and flower:
 A matching card was also produced from my card and paper stash:
 Happy Birthday C! By now we should be celebrating with you in a nearby tavern.
Saturday, 17 January 2009
Little books

Rather little notebooks for taking some very small notes or little lists. I coula make a thousand of these and still have a paper stash left. They are constructed in a very similar fashion to the little books you would get matches in (which nobody gives out anymore because of the UK smoking ban). I followed the instructions at The Spotted Sparrow.
Saturday, 25 October 2008
Rewards
 I have spent the last 2 Saturdays doing sewing related trips or workshops without too much complaint from him indoors. So decided to sew this fabric box for him as a thank you - handily sized for the many CDs and microphone he carts to and from work (singing karaoke every Monday afternoon does count as work). I also rustled up a little home baking. I tried out this Pflaumenkuchen from my mixer cook book, I think I will try something lighter instead next time. (although M would be happier if it didn't contain fruit at all)

Subscribe to:
Posts (Atom)
